 |
|
 |
|||||||||||||||||||||||||||||||||||||||||||||||||||||||
 |
|
 |
|||||||||||||||||||||||||||||||||||||||||||||||||||||||
Finally! The UK lock down restrictions have been eased to allow me to drive the Fury R1. So with it's MOT extended by the government, I taxed it for 6 months.
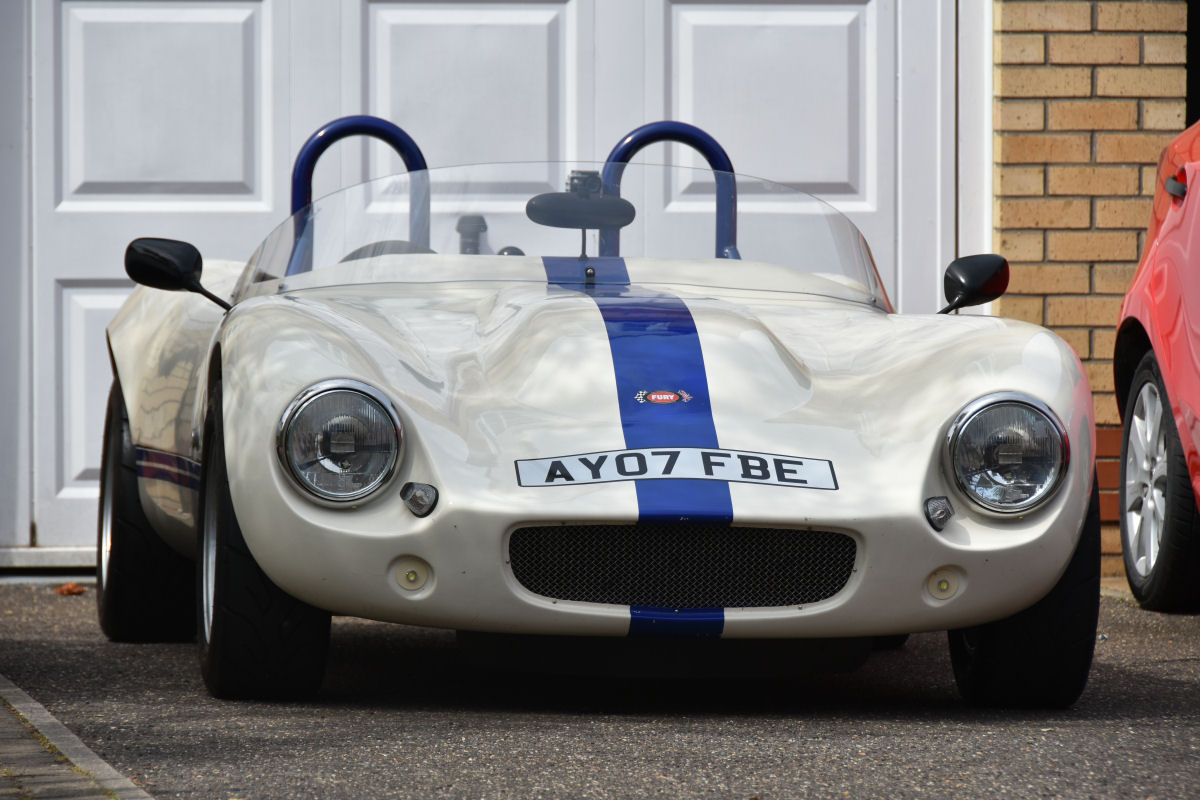
The weather wasn't actually brilliant, so today I finally got out in the Fury R1. After such a long time not driving the car, the first things that hit you are ...
1. It's very raw and loud!
2. It's fast, the acceleration is brutal.
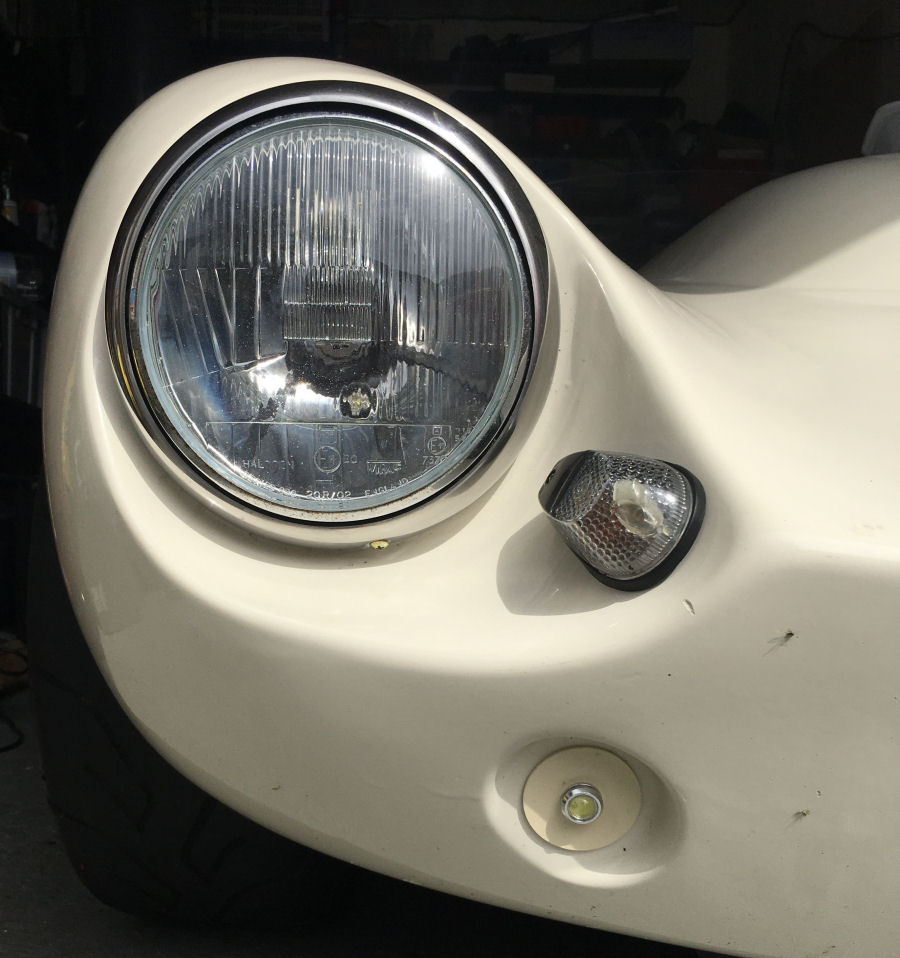
Today's job is something I've been meaning to look at for ages. The front indicators I originally fitted to the car have done well but, they have taken a few stone hits over the years and a lot of the lens is actually held together with Araldite. I wanted to replace them with something more subtle and using LEDs.

My plan is to use these LED lights I bought on eBay. They are both white and orange and can serve as indicators and daytime running lights. The existing DRLs I have fitted will be removed. You can read more about this upgrade process on a separate page.
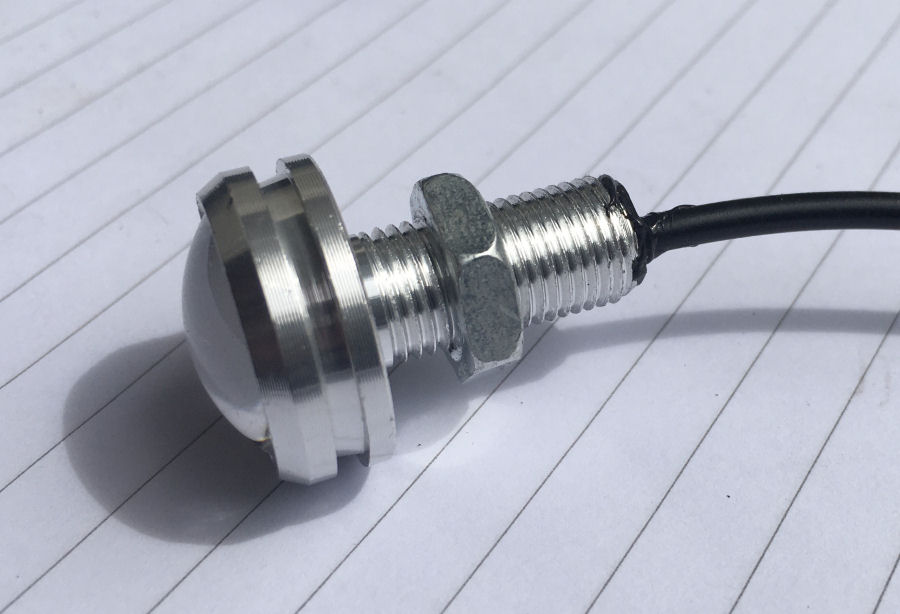
They simple bolt through a 10mm hole.
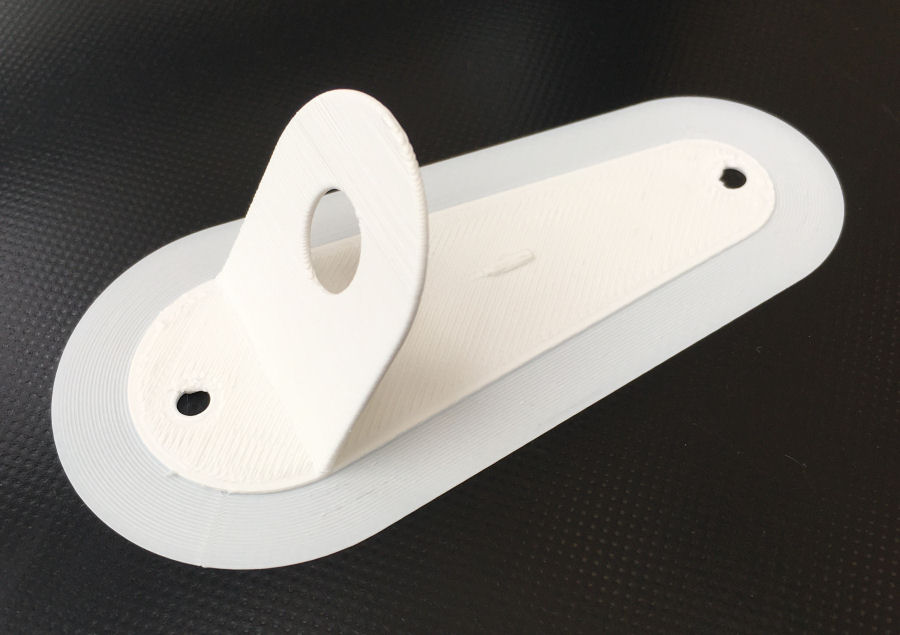
I want to reuse the existing 4mm mounting holes and cable entry holes in the bodywork, so that I don't have to drill any more. So I printed a 3D test part, to check the dimensions and angles.
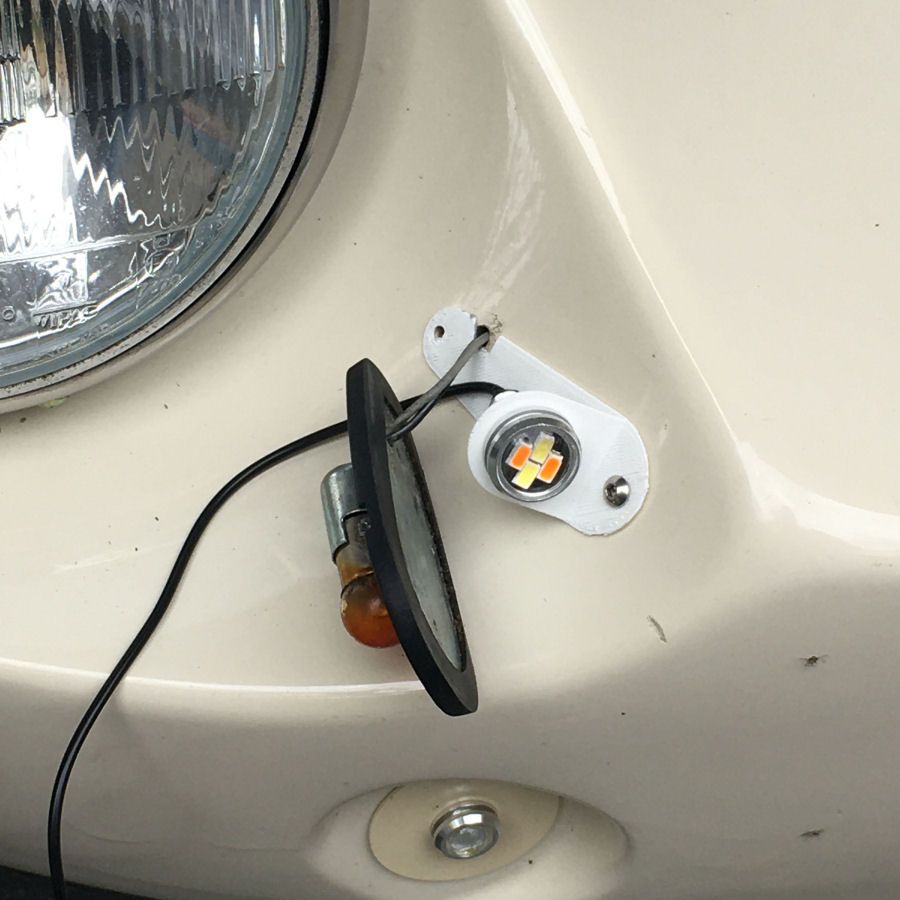
The test part was pretty close but the angle of the LED was out, so I fed these updates back into my model.
You can see the 'old' daytime running LEDs in the lower part of this picture. The indentations will be my next 3D project and I intend to mount air intake in these indentations, to feed into the new air box.
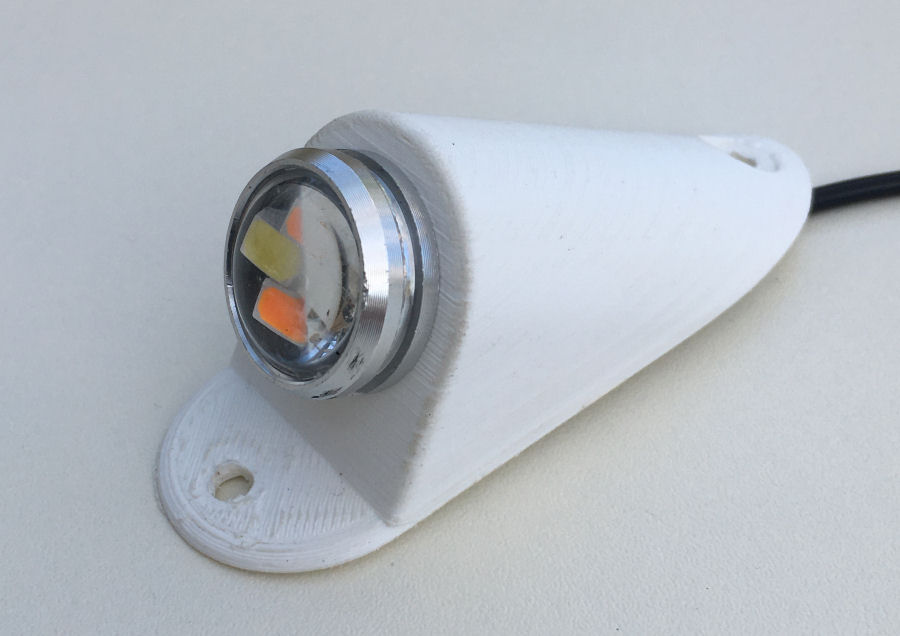
This is my final design. These will be printed at highest quality and painted to match the current body colour, which is 'Old English White'. I really like them as they have some nice curves, are very subtle and weigh just 6.4g each. They are fixed using 4mm stainless-steel bolts.
Got out into the car again today. I'm still checking over the cooling system having fitted a new radiator. The small leak I found has been fixed by tightening one of the Jubilee clips. The car seems to run a bit warmer than before and the water temperature seems to vary more, which leads me to think I have some air trapped in the system.
My biggest concern though is that the clutch felt like it was slipping :-( AB Performance ![]() replaced the clutch for me last time (June 2013) and also upgraded it to a Barnett clutch system.
replaced the clutch for me last time (June 2013) and also upgraded it to a Barnett clutch system.
Ordered the clutch friction plates and steel plates from PDQ Motorcycle Developments ![]() . Got an email to say they will arrive tomorrow.
. Got an email to say they will arrive tomorrow.
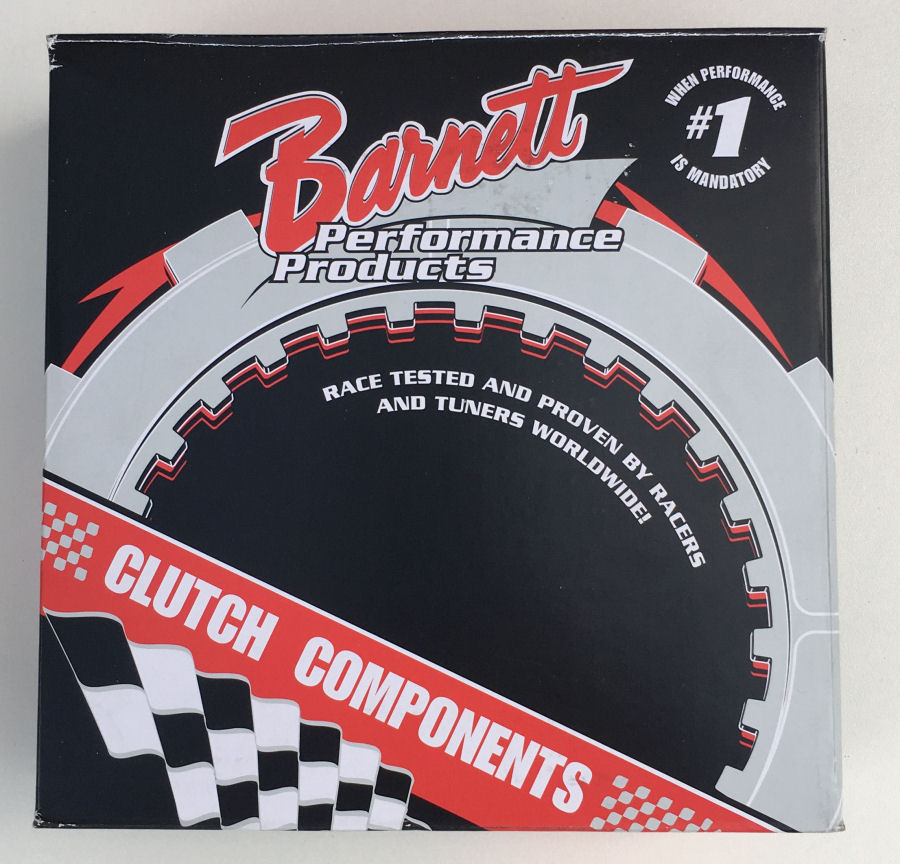
As promised, my Barnett clutch parts arrived before lunch from PDQ Motorcycle Developments ![]() . Great service!
. Great service!
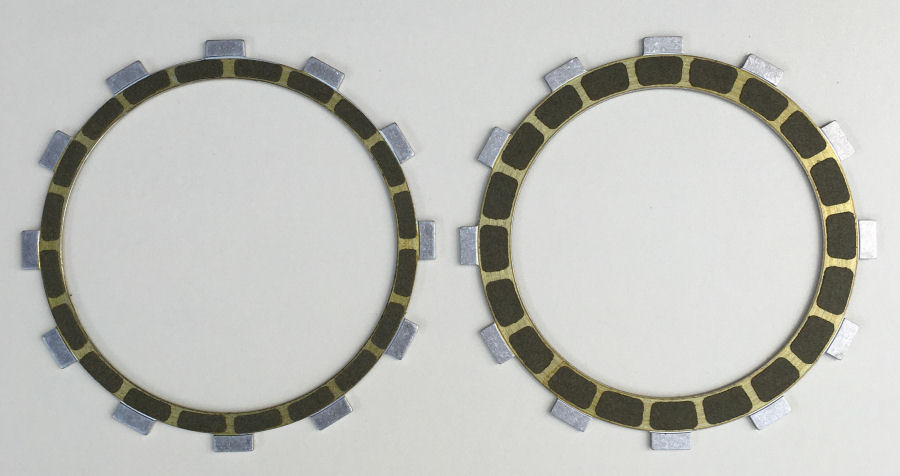
There are 8 kevlar friction plates and one is slightly smaller than the other 7.

I'll check the steel plates currently in place but, I ordered some new ones just in case.
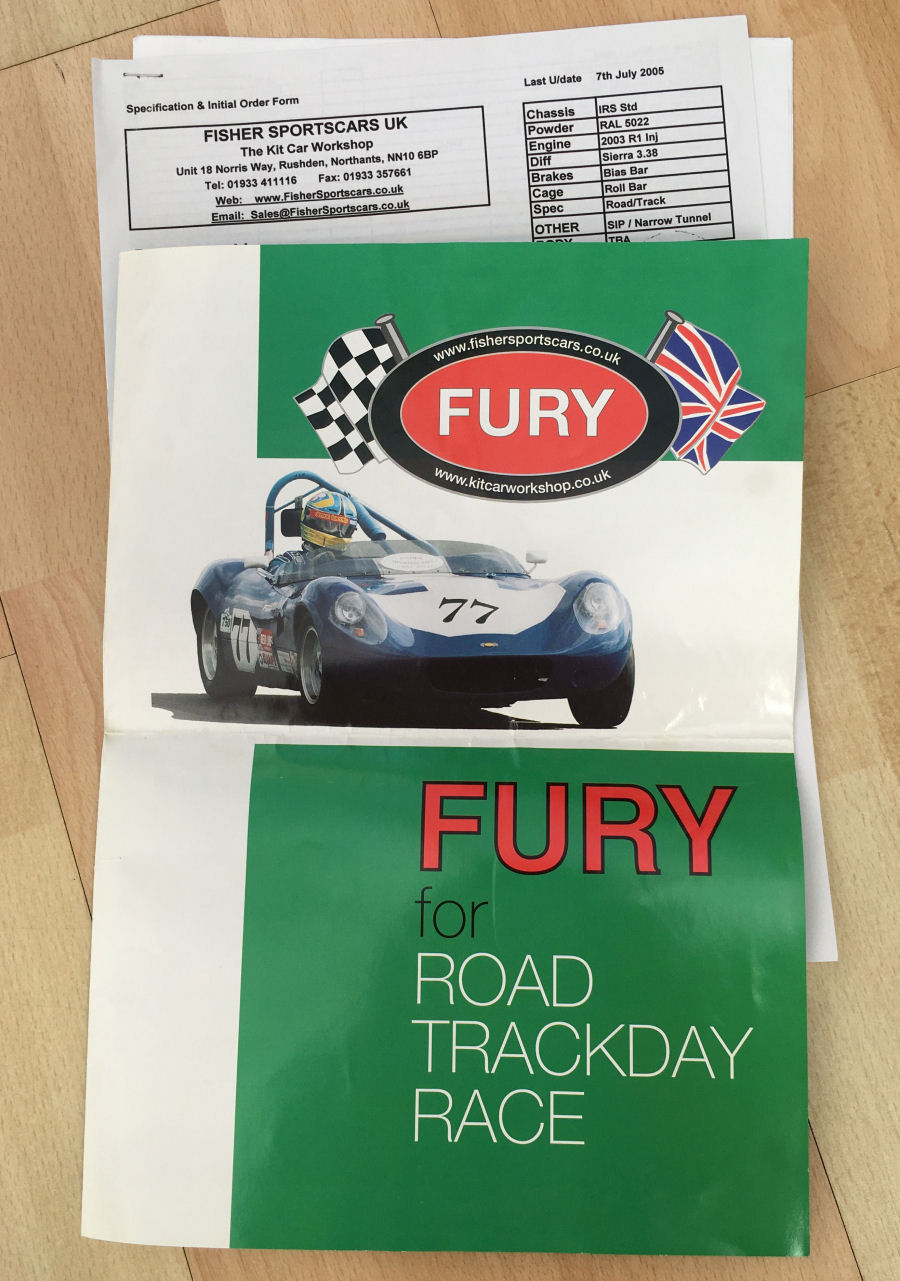
Whilst sorting out stuff in the garage, I came across my original order form and a Fisher Fury brochure. Both look like new despite being from 7th July 2005.
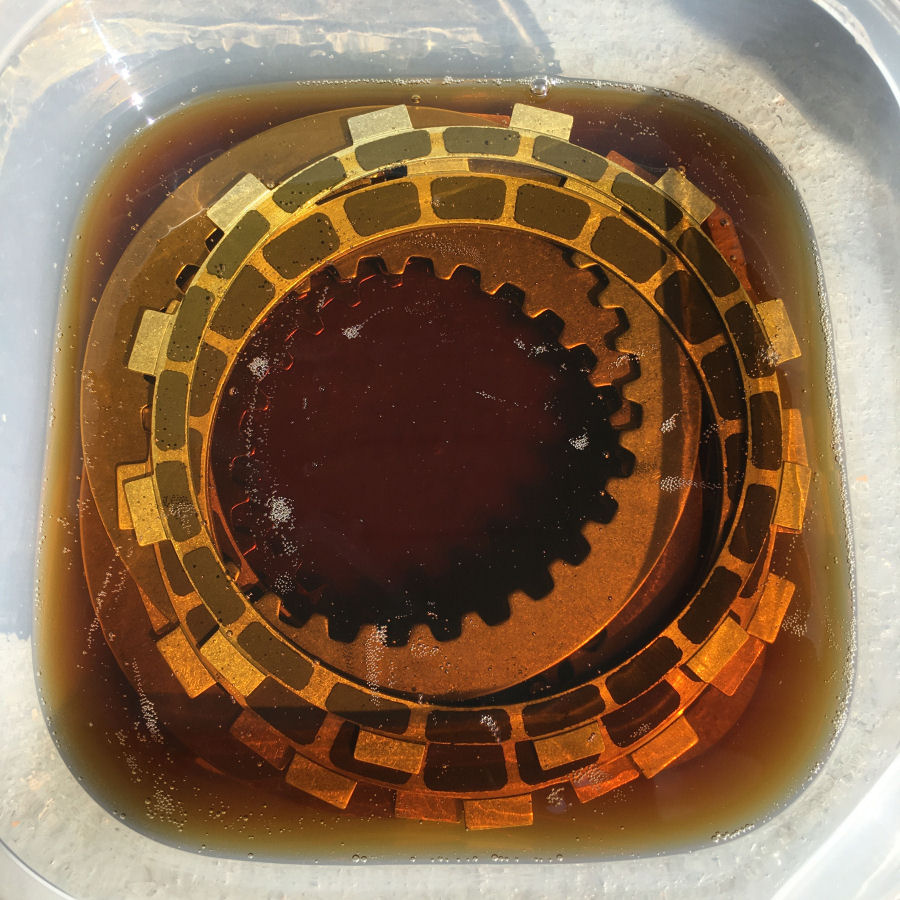
The first task is to soak the new friction plates (I did the steel plates as well) in oil over night.

The 3D printed housings for my new indicators and day-time running lights are finally finished. Painted to match the bodywork and lacquered. You can read more about this upgrade process on a separate page.

So the new clutch went in quite quickly and easily. More detail on my clutch page.
A short test drive revealed two things. Firstly, the cooling system is behaving normally, so it probably was air in the system.
Secondly, the clutch is still slipping! :-( It does feel better and has a much smoother action when pulling away but it still feels quite light.
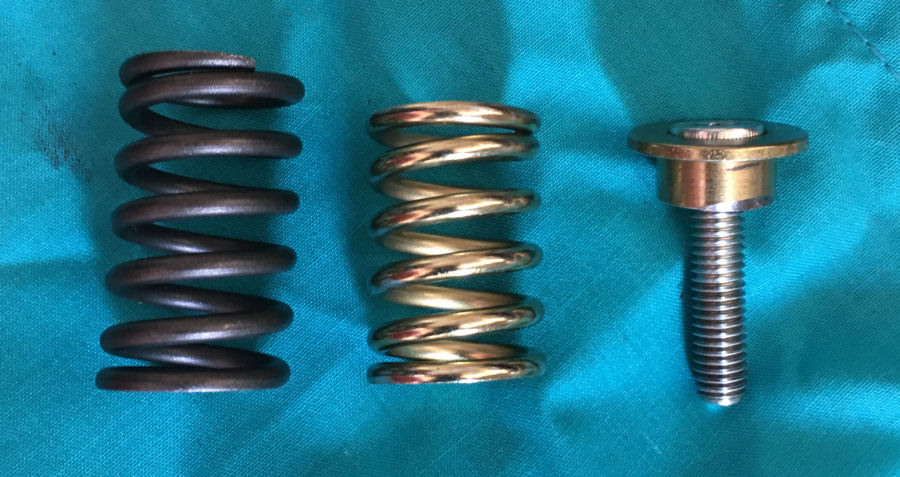
I'm going to swap the gold springs that were installed by AB Performance ![]() with the longer, thicker springs that come with the kit but were given to me as spares. Looking through my earlier notes, the gold springs are the softest ones supplied with the Barnett kit.
with the longer, thicker springs that come with the kit but were given to me as spares. Looking through my earlier notes, the gold springs are the softest ones supplied with the Barnett kit.
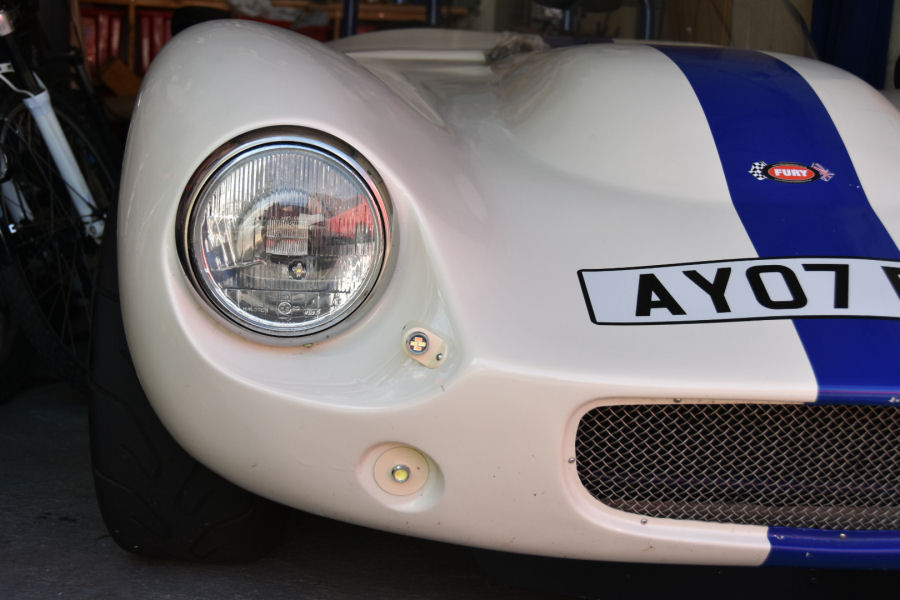
Fitted the new indicators today. Really pleased with how they turned out. A lot of new wiring to do now though.
The weather has been very windy these last few days, so I've not really been able to sort out the clutch. Today I finally got around to fitting the heavy duty Barnett clutch springs.
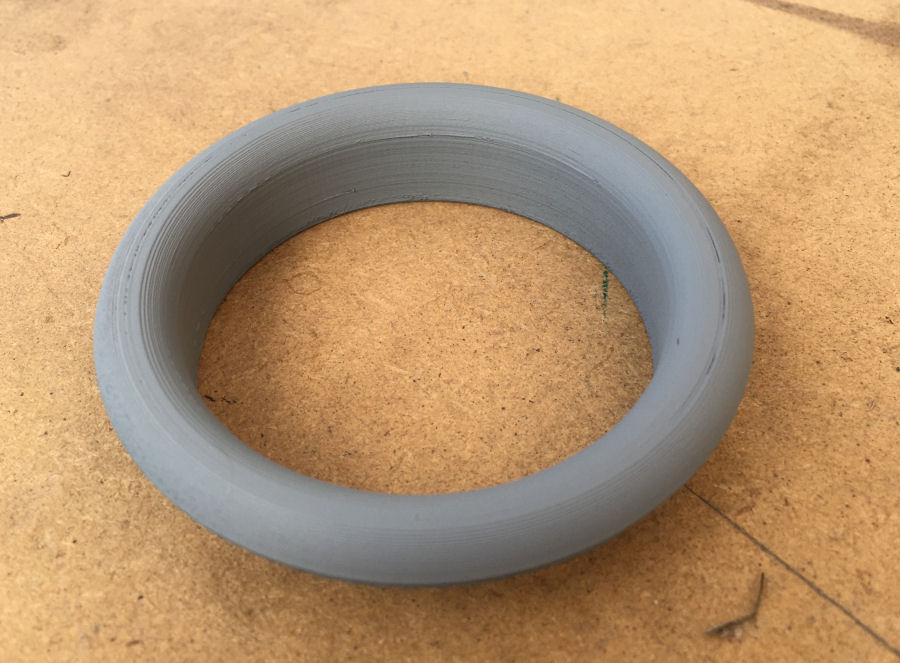
Whilst I was looking at the indicators, I revisited the indents that currently hold my daytime running lights. I've 3D printed a small test piece to turn both the indents into air intakes. This involves enlarging the current holes. This piece has been printed short, to print quickly. The real items will be 38mm tall to make it easier to fit the internal hoses and hose clips.
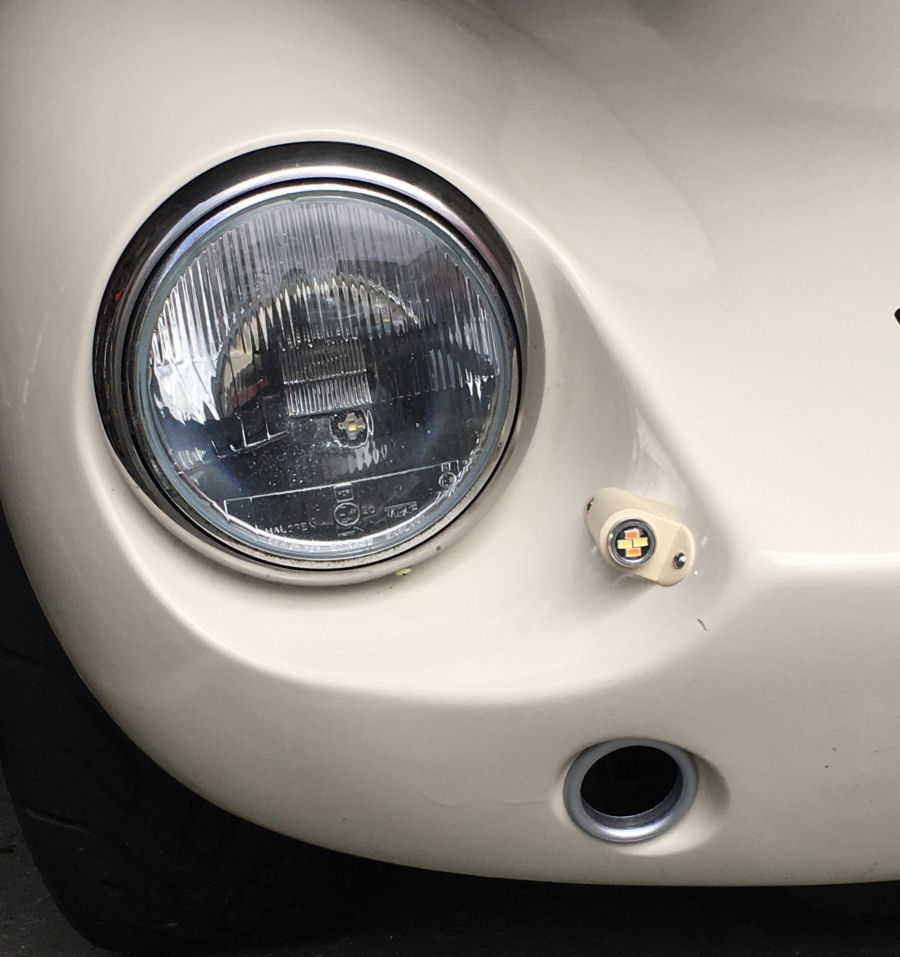
I was curious to see what this would look like if painted silver.

I prefer this black version though.

Good progress today. I've final fitted and wired in the new indicators today. The wiring under fixed to the bonnet is done. The most time consuming part is unwinding all the nylon spiral wrap and then fitting it back again. The indicators currently use the existing switch, so I've had to fit a dummy load to keep the flash rate correct. The dummy load is actually the old indicators :-)

I've 3D printed the air intake cowls and I'm slowly painting them up with many layers of paint. These should be ready to go on the car very soon.
The best bit from today though was that I test drove the car with the new Barnett heavy duty clutch springs and it is no longer slipping. The performance is back to 'takes your breath away' :-)
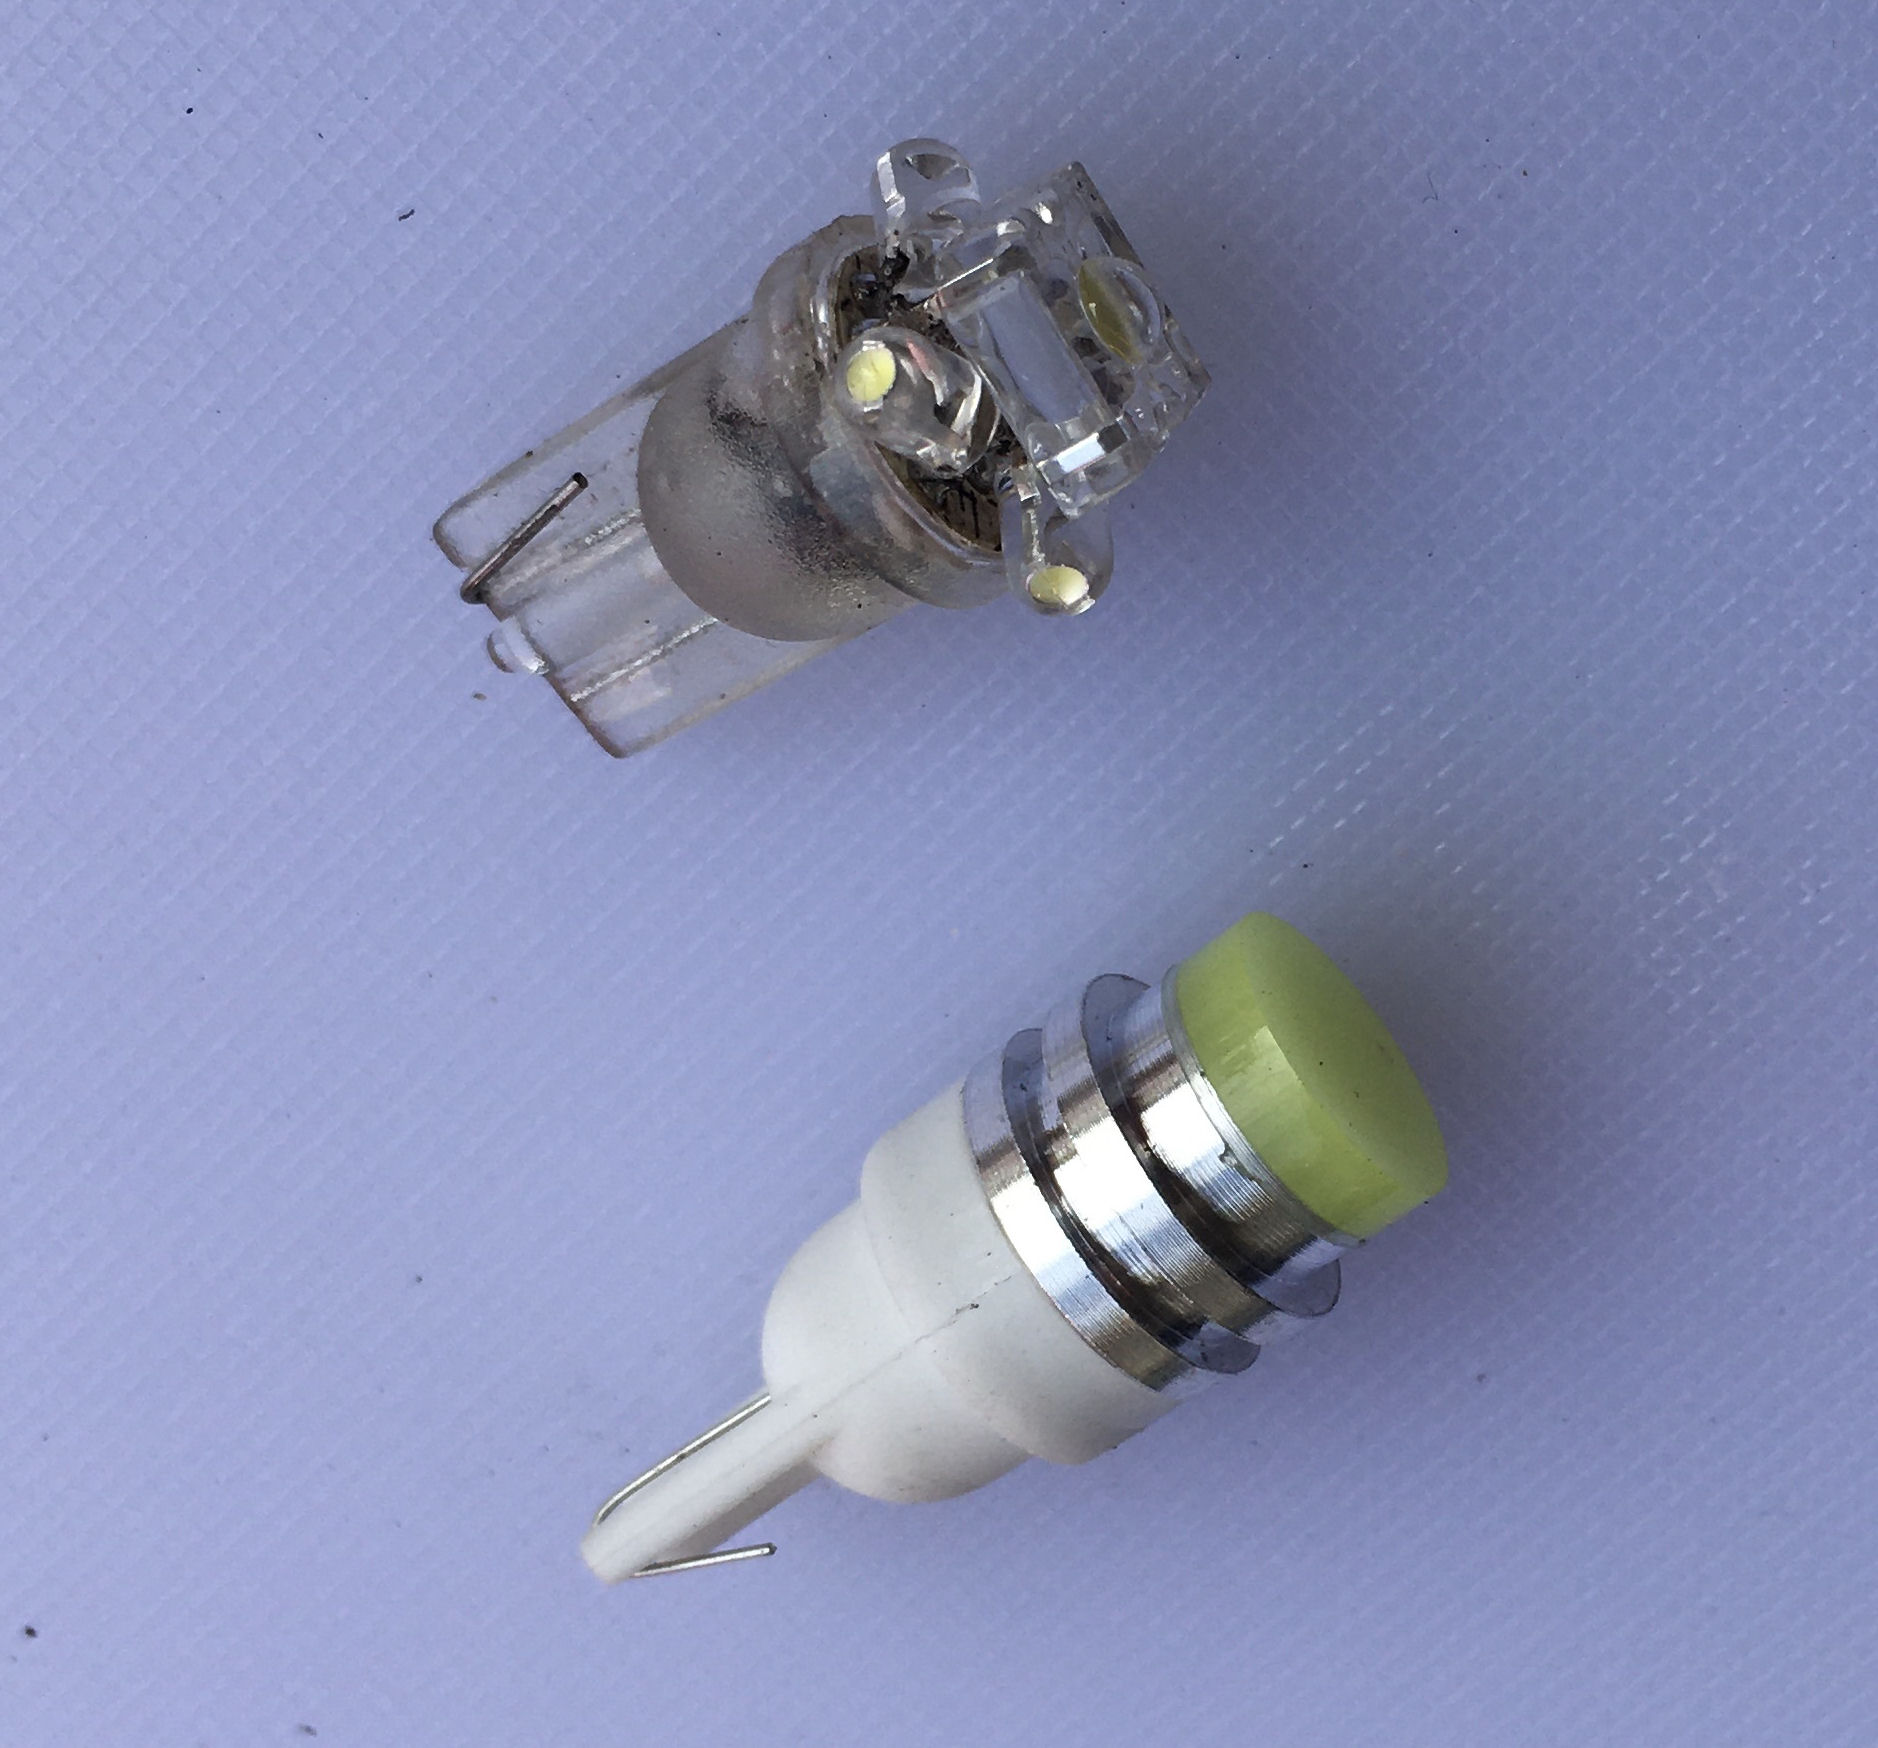
Back in 2017 I swapped out the filament side light bulbs for some LED bulbs. I've never been happy with these (upper one) though as they really don't put out much light. So I bought some higher power, more direction bulbs to try (lower one). These are a vast improvement and provide a much brighter spot of light.
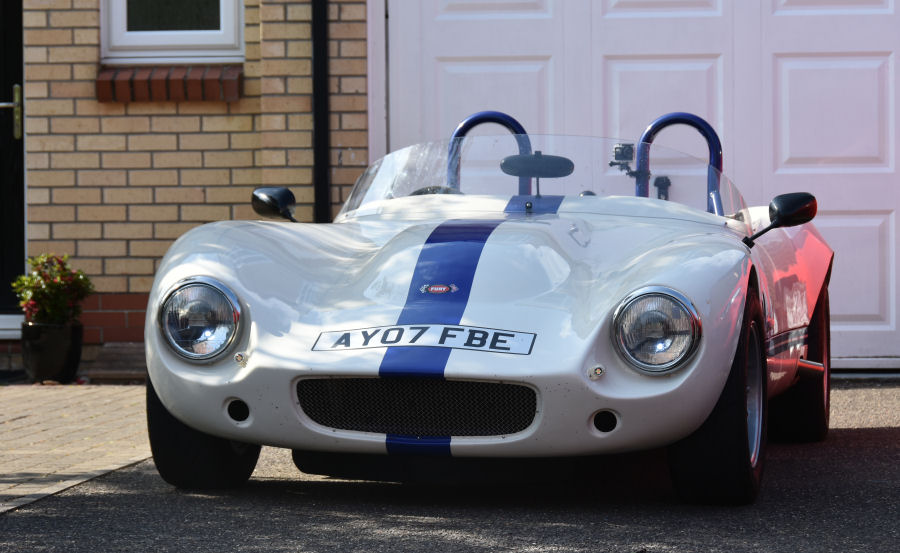
These are a vast improvement and provide a much brighter spot of light. The camera doesn't really capture the bright spots of light very well. These will also be on at the same time as the 'daytime running lights' once I've finished wiring them up.
In keeping with this drive to move to all LED lighting, I've bought some LED H4 bulbs for the headlights. It will be interesting to see how well they work.

In the dark the side lights alone manage to look bright now.
Completed the testing of my new new indicators using an Arduino Nano to do the control and timing. Just finishing the design of the PCB now and will then get it ordered.

Finished painting the 3D printed air intakes.

Fitted the air intakes to the front of the car, to complete the look.
Out for a drive in the Fury R1 this afternoon. It's a real adrenaline hit. Had to go out later in my son's Eunos for a relaxing cruise. Two very different cars but, both great in their own ways.
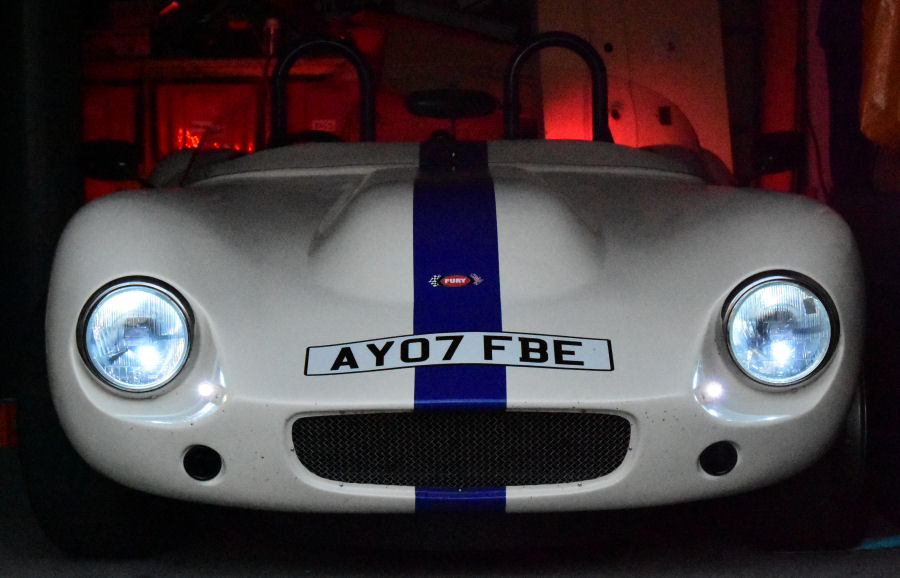
New side lights and 'daytime running lights' on in the evening to better show them lit up. That's a bit of tape on the left headlight. It got chipped by a stone and I have a new one to go on.
 |
|
 |
|||||||||||||||||||||||||||||||||||||||||||||||||||||||